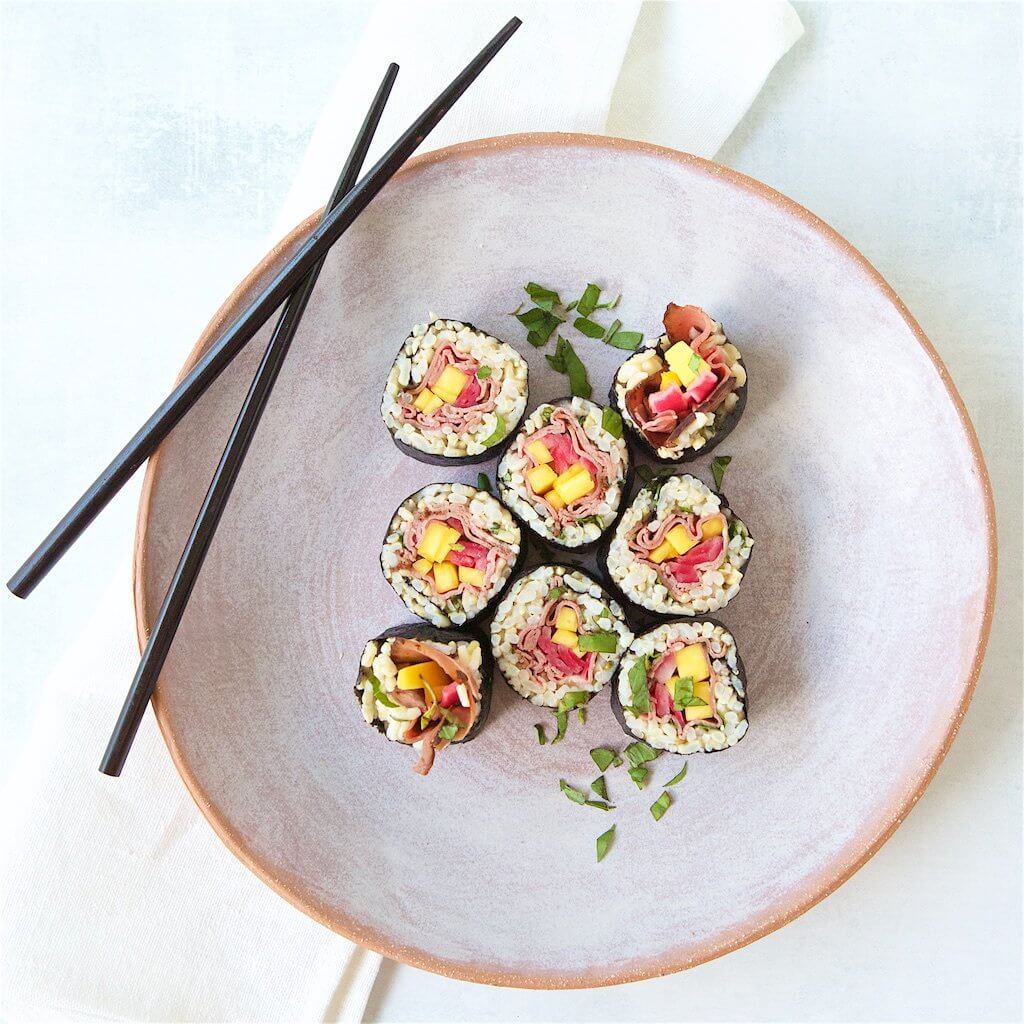
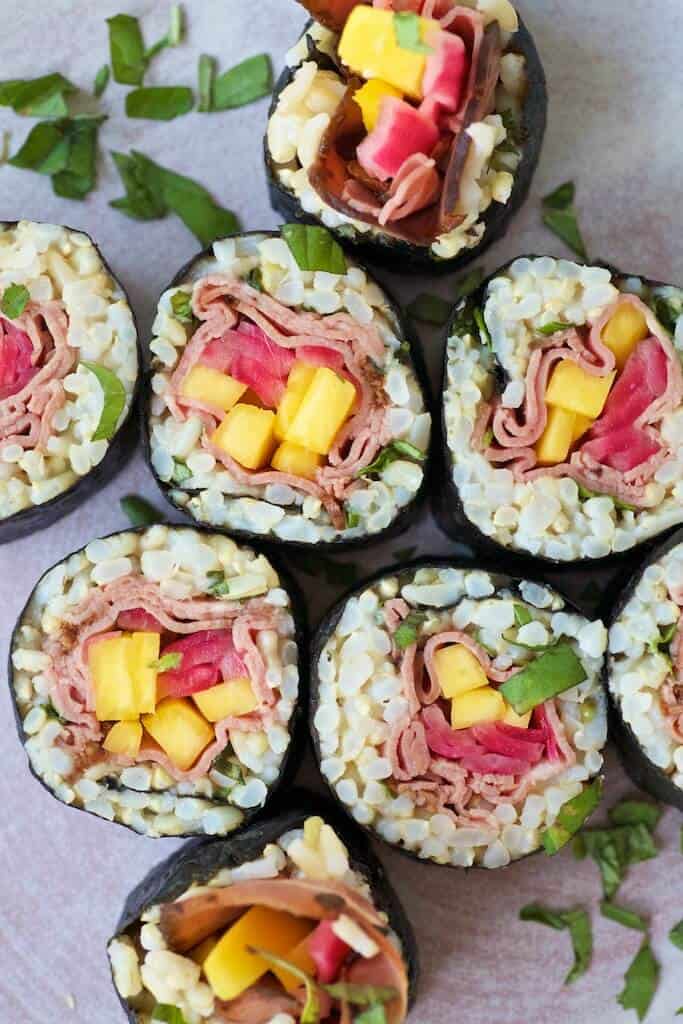
Enjoy homemade sushi tonight with this delicious Mango Basil “Beefshi” sushi roll recipe.
This post is sponsored by the North American Meat Institute, a contractor to the Beef Checkoff.
Jump to:
Sushi is an elusive food for the at-home cook. It always seems so fancy and complicated at restaurants, but the truth is, it couldn’t be easier to make at home. The only thing you have to practice is rolling, and it’s a pretty short learning curve.
This Mango Basil Beefshi sushi roll recipe includes approachable foods and flavors like delicious roast beef, fresh mango and basil, and quick pickled red onion. Thanks to the ease of roast beef, you can have a really flavorful protein in your rolls with no effort at all.
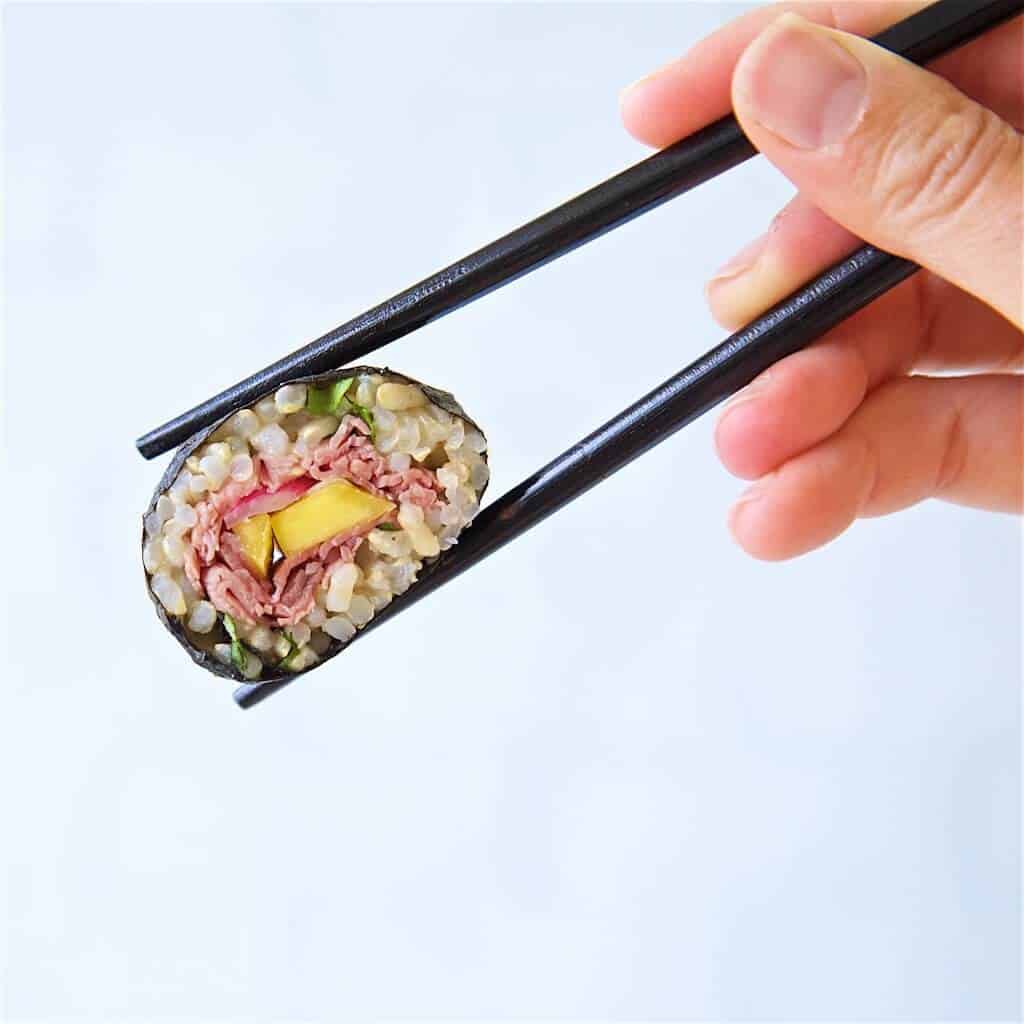
Here’s some tips and tricks for making your best sushi roll tonight in your very own kitchen with this recipe.
THE RIGHT SUSHI EQUIPMENT
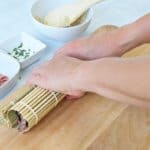
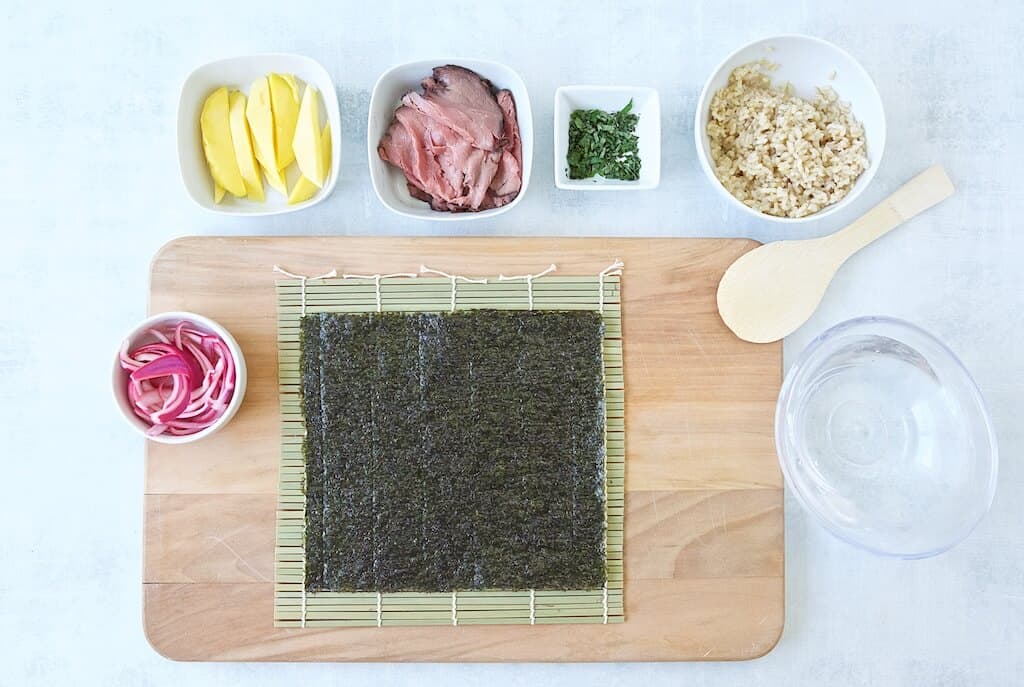
Perhaps you’ve never made sushi at home because you think it requires a bunch of crazy gadgets. I’m not gonna lie to you, it does help to have the right equipment, but it is very minimal. All you really need is a bamboo sushi mat, which you can easily order for a whopping $6.99 on Amazon. (You can really splurge though on this Sushi Making Kit for $15 and take it to the next level.) The bamboo mat is the tool you need to roll your roll. It’s not as easy without it. Doable, I guess, but not as easy.
Some sushi gurus might argue you could also benefit from a rice cooker. I don’t have one and don’t find it necessary. I do however use my Multi Cooker to cook my rice and that is a dream come true. It cooks rice perfectly in a fraction of the normal time. If you don’t have either of these options, don’t fret; cooking your rice on the stove top will work just fine. My sushi recipe includes directions for the Multi Cooker, but simply follow the instructions for stove top cooking on the bag of rice you use.
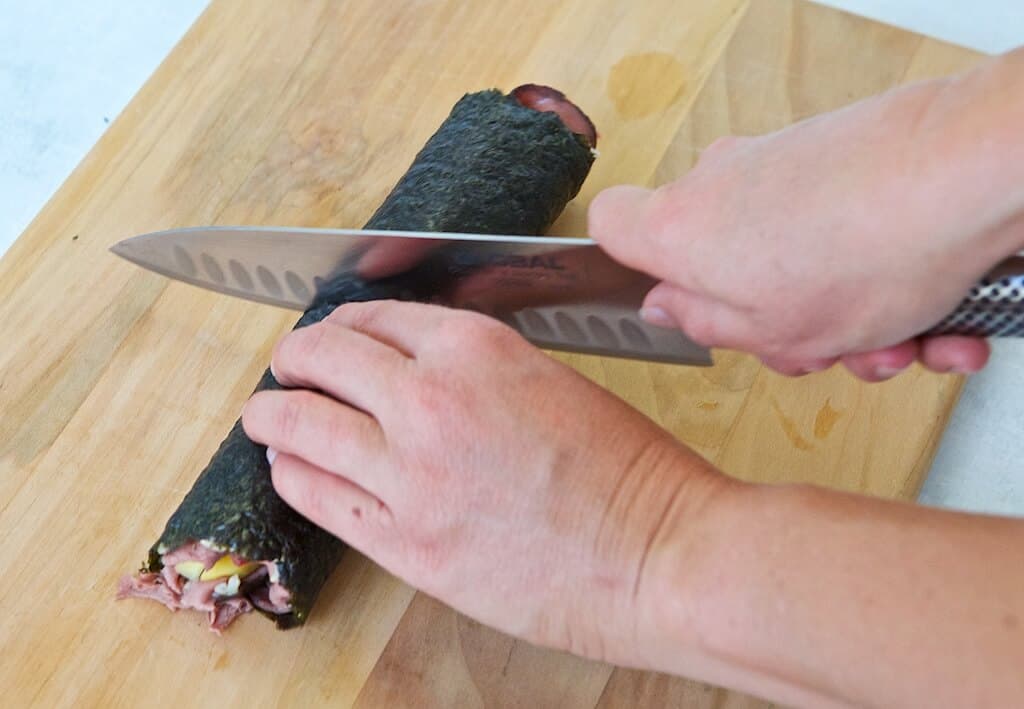
There is one more piece of equipment that I do think is very important for homemade sushi, but hopefully you already have it -- a sharp knife. Do not fear the sharp chef’s knife! It makes everything easier including getting a clean, crisp cut in your sushi. I really love my Global knives, but any good, sharp chef knife will do.
THE RIGHT SUSHI INGREDIENTS
The secret to amazing homemade sushi, and what sushi restaurants probably DON’T want you to know, is that anything goes! There are no “right” ingredients.
Really! If you believe it, you can achieve it with sushi!
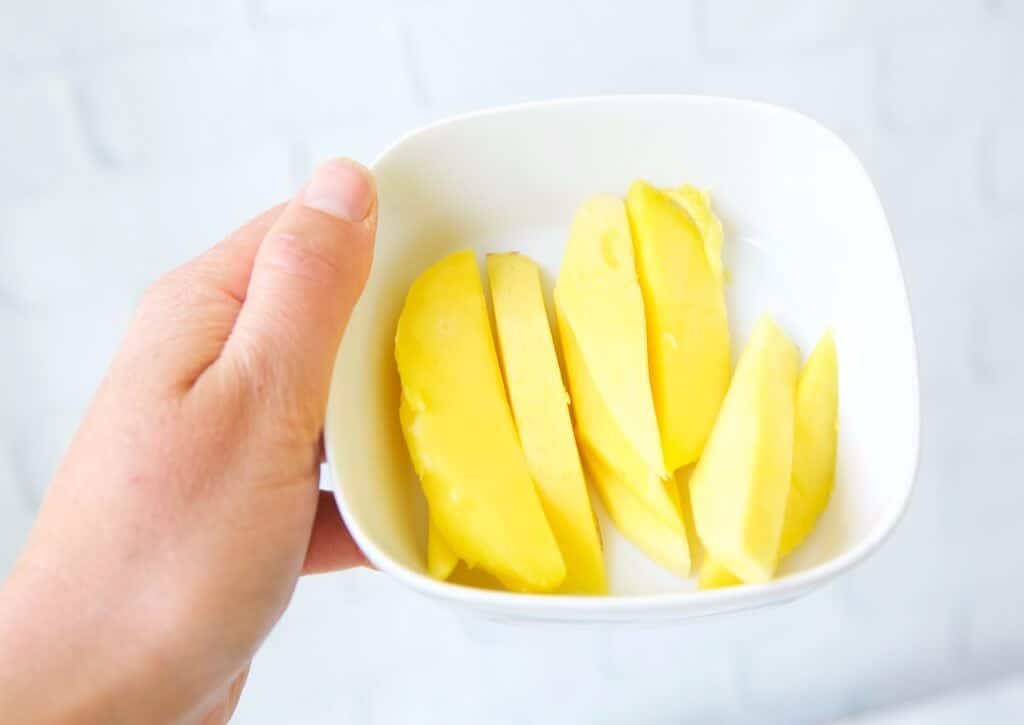
The possibilities are endless for what you can stuff your sushi rolls with. Grilled, raw, fried, veggies, fruit, dairy, non-dairy, crunchy, sweet, salty....whatever you want goes! You’ll notice that my recipe includes fresh mango because that just happens to be my favorite sushi ingredient. (You might thank me for that after you try this recipe.)
Don’t like seafood which is very common in sushi? No problem thanks to the innovative idea of “beefshi”. You can use proteins you know and love, like the roast beef in this recipe. I chose a really tasty, thin sliced roast beef from the deli section of my grocery store and it was amazing! It gives a high end flavor, but I did absolutely no prep work. I am here for that!
Let’s talk about the rice for a minute. In my recipe I use short grain brown rice, a secret weapon in my healthy pantry staples. Short grain brown rice is plumper and stickier than long grain brown rice, which is the type you most often see in grocery stores. It’s definitely a game changer for sure! It works perfectly for sushi rice because it is a bit sticky, especially when cooked in the Multi Cooker.
The best place to buy short grain brown rice is in the bulk section of grocery stores. I find it almost 100% of the time at health food stores (like Whole Foods) but any store with a good bulk section probably has it, and for a really low price. You can find it on Amazon, but the price varies greatly and you will have to probably buy 6 bags at a time. If you don’t want to use brown rice at all, look for sushi rice. That matters as it’s stickier than regular white rice or jasmine rice.
Lastly, you do need Nori, which is the seaweed paper used for sushi. (Sorry if I’m the one to break the news to you that the green stuff is seaweed. It’s super good for you though!) Nori is very easy to find and most grocery stores with an ethnic food section will carry them. Once again, you can easily purchase on Amazon. I like to buy it in packs of 10 (as opposed to a 50 pack) because they don’t stay fresh for a long time IMO.
THE RIGHT SUSHI TECHNIQUE
Rolling a tight roll does take a little practice. If you are a complete newbie to sushi, practice 1-2 rolls with just rice and something simple inside (aka don’t waste all the good ingredients on practice).
Follow these helpful tips for a successful roll:
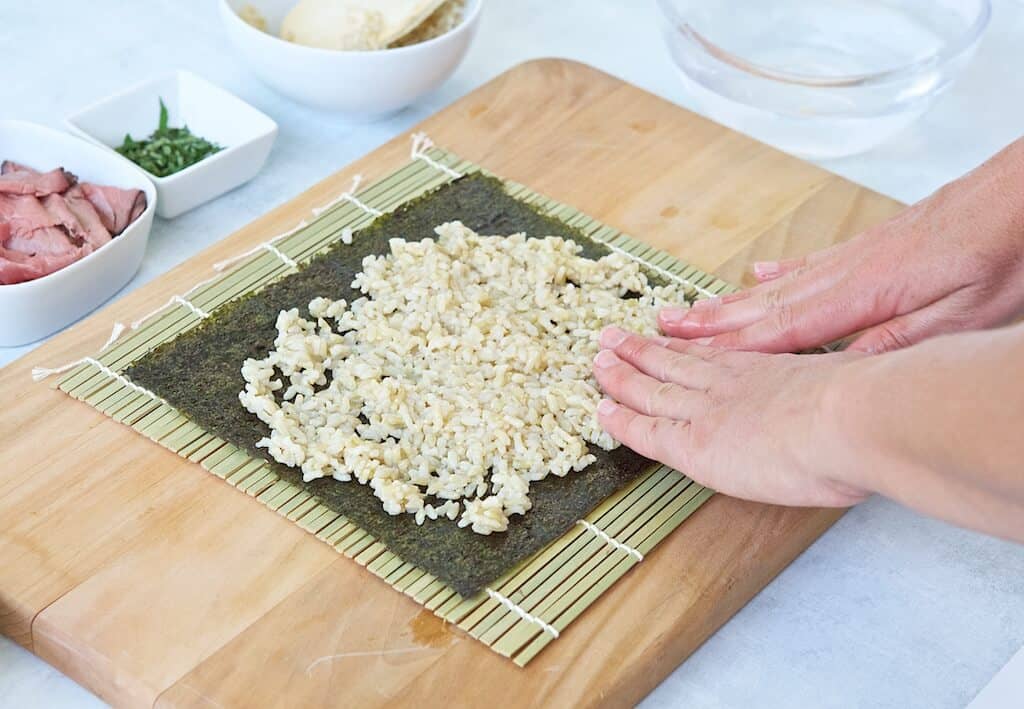
- Make sure that your rice layer is extending all the way to the left, right and bottom edges. If you don’t fully cover the nori, you’ll get an uneven roll. It will still taste good, just won’t look that pretty.
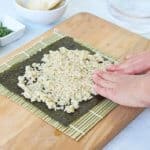
- Wet your fingers in water to keep the rice from sticking to you (repeat as often as needed), and gently spread the rice all around. It might take a minute or two to get it right. Leave a ½” border empty at the top of the nori because that is how you will get a tight seal on the roll and prevent overfilling.
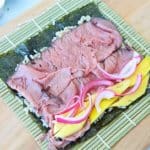
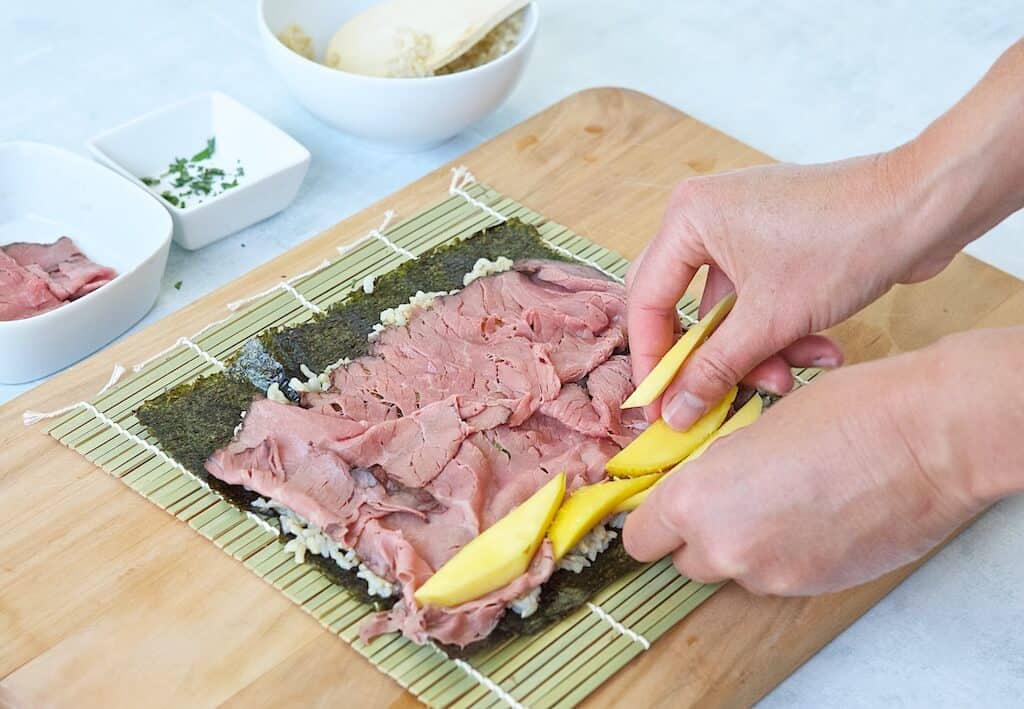
- Line the bottom edge of your roll with your stuffing ingredients. There’s a fine line between too little and too much stuffing, but you can dance all around it until you find what you like.
- The rolling is a 2 step process.
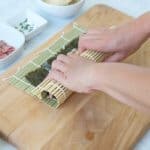
- Lift the bamboo mat up and roll the nori on itself just once. Then gently squeeze to tighten the first roll.
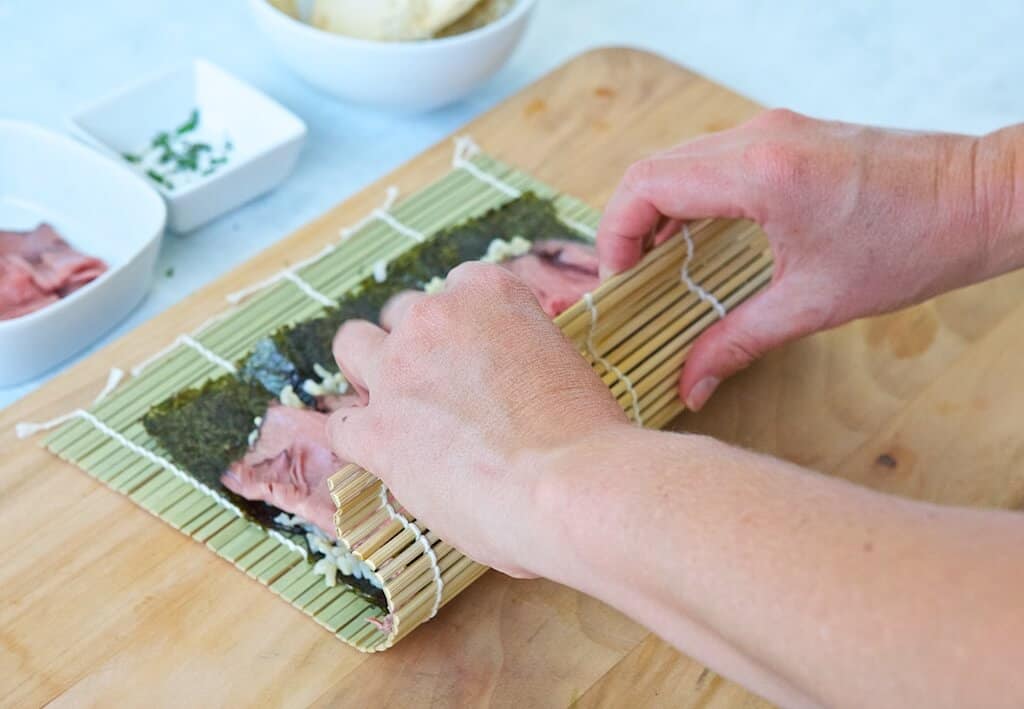
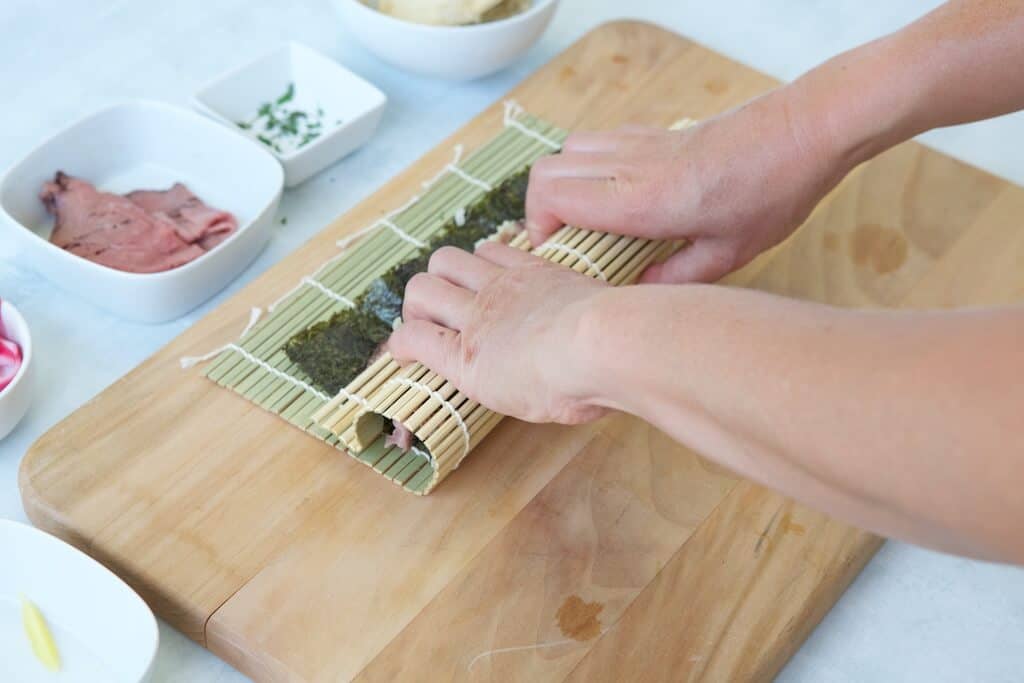
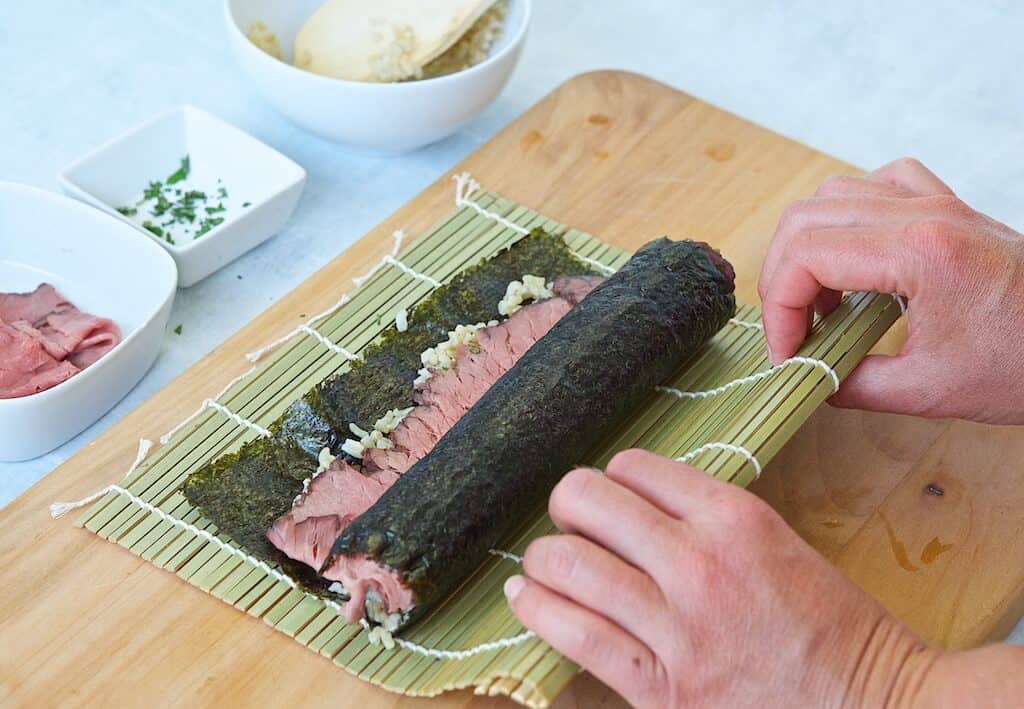
- Lift the bamboo mat up and use it to roll the roll a second time to close it up. The top edge of the nori should be touching itself and not any of the stuffing. Again, squeeze gently to tighten and seal the roll.
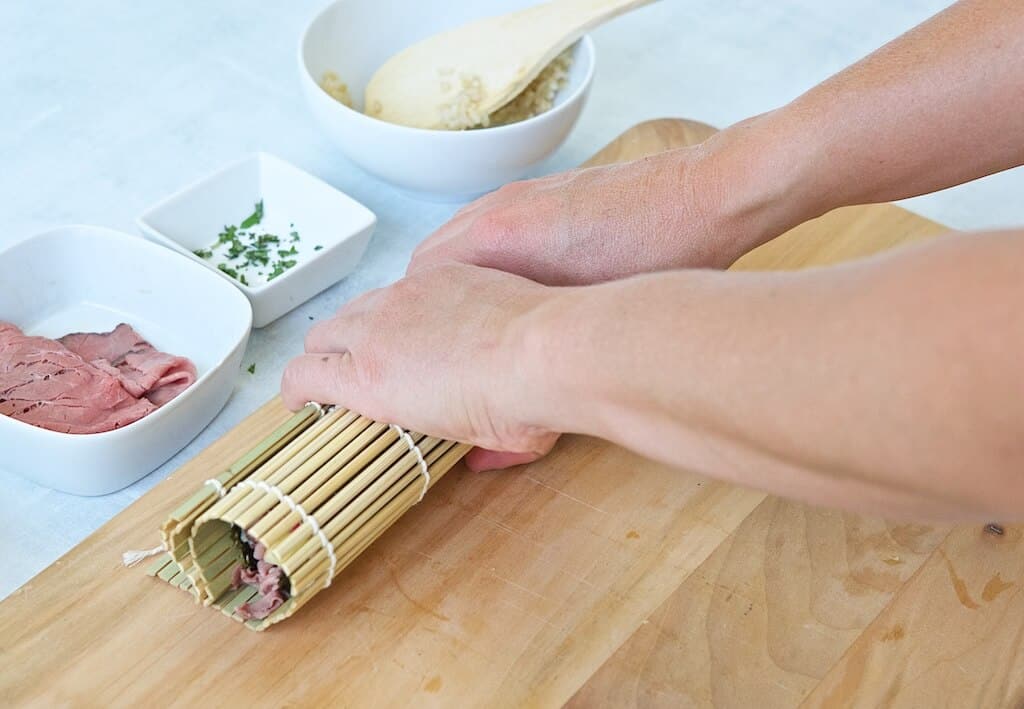
Now you are ready to cut and enjoy!
THE RIGHT SUSHI CUT
If rolling is the most important skill to master when making homemade sushi, cutting it is the second most important. This is why having a sharp knife is so important. You need to be firm but delicate with your cut so you don’t smoosh your roll.
Start by cutting your roll in half.

Then cut each half in half to make 4 large pieces. Lastly, cut each of the 4 pieces in half to give you 8 total pieces.
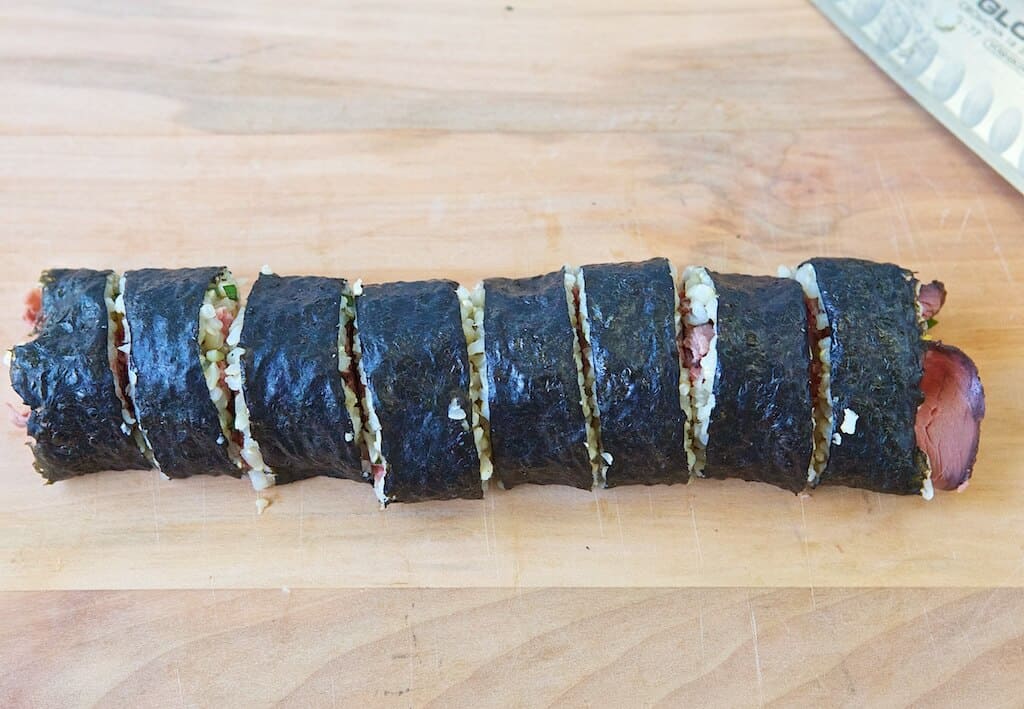
Now I think you are ready to roll! Enjoy this super tasty Mango Basil Beefshi Sushi roll.
Recipe
MANGO BASIL BEEF SUSHI ROLL
- Total Time: 2 hours 10 minutes
- Yield: 2 1x
Description
This simple sushi roll recipe is easy to make and full of flavor with fresh mango, roast beef, pickled onion and basil.
Ingredients
Quick Pickled Red Onions
- 1 cup rice vinegar (can substitute apple cider vinegar or rice wine vinegar)
- ½ teaspoon salt
- 1 teaspoon sugar
- ¼ cup hot water
- 1 medium red onion, thinly sliced
Sushi Rice
- 1 ¾ cups water or broth
- 1 cup short grain brown rice (or sushi rice)
- 2 tbsp rice or rice wine vinegar
Rolls
- 2 sheets nori
- ¼ cup chopped, fresh basil
- 4 slices thinly sliced deli roast beef
- 1 mango cut in slices (or buy pre-cut mango in produce section of store)
Instructions
Quick Pickled Red Onions
- In a medium mason jar (or similar jar with lid) whisk together the vinegar, salt and sugar.
- Pour the hot water into the jar and whisk to dissolve.
- Put the sliced onions in the jar so they are mostly covered with the liquid. Cover and refrigerate for at least 1 hour. This step can easily be done 1-2 days ahead of time.
Sushi Rice
- In a multi cooker (see notes for other cooking methods), combine the water or broth and dry rice. Stir to combine.
- Close and lock the lid of the multi cooker and set it to Manual cook for 22 minutes.
- After cook time has compelted, allow to natural release for at least 10 minutes or fully if you have the time.
- Spread cooked rice onto a rimmed baking sheet and sprinkle with rice vinegar. Cover and refrigerate until ready to make rolls. This can be done up to 24 hours ahead of time.
Sushi Roll Assembly
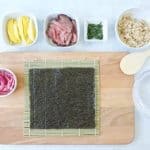
- Lay Bamboo mat on the counter or cutting board, smoother side facing up. Lay a sheet of nori paper on top of the bamboo mat.
- Scoop about ½ cup at a time of brown rice onto the nori.
- Wet fingers with water and gently press the rice out into a thin, even layer. Make sure you cover to the edges of but leave a ½” strip uncovered at the end farthest from you.
- Sprinkle the desired amount of chopped basil all over the rice.
- Lay 2 slices of roast boast over the rice, mostly covering it.
- At the end of the nori closest to you, layer the mango slices, about 2 deep all across the bottom.
- Next add pickled onions on top of the mango according to your preference.
- Roll your sushi by picking up the end of the bamboo mat closest to you. Use it to roll the nori over itself one time. Pause and gently squeeze the roll through the bamboo to make sure it is tight.
- Lift the end of the bamboo mat slightly and roll the nori forward again until the roll is closed. Gently squeeze the roll through the bamboo mat to seal it up.
- Remove the roll from the bamboo mat and place on a cutting board. Using a sharp knife, cut the roll in half, then cut each side in half again to make 4 pieces. Cut each of the 4 pieces in half to yield 8 total pieces.
Notes
I recommend cooking rice in an multi cooker/pressure cooker(or similar) but if you do not have one, cook in a rice cooker or on the stovetop in a pot with a lid.
- Prep Time: 2 hours
- Cook Time: 10 minutes
- Category: Entree or appetizer
- Cuisine: Japanese

For more delicious rice recipes, try the Make Healthy Easy ideas:


